Adding a Speed Display to the Axminster Craft AC305WL Woodturning Lathe

I recently started woodturning and chose the Axminster Craft AC305WL woodturning lathe. This is a mid-range hobby lathe with variable speed control. However it doesn’t have a display of the lathe rotational speed.

I thought it would be an interesting project to add a rotational speed display.

Here’s a picture showing the display in action
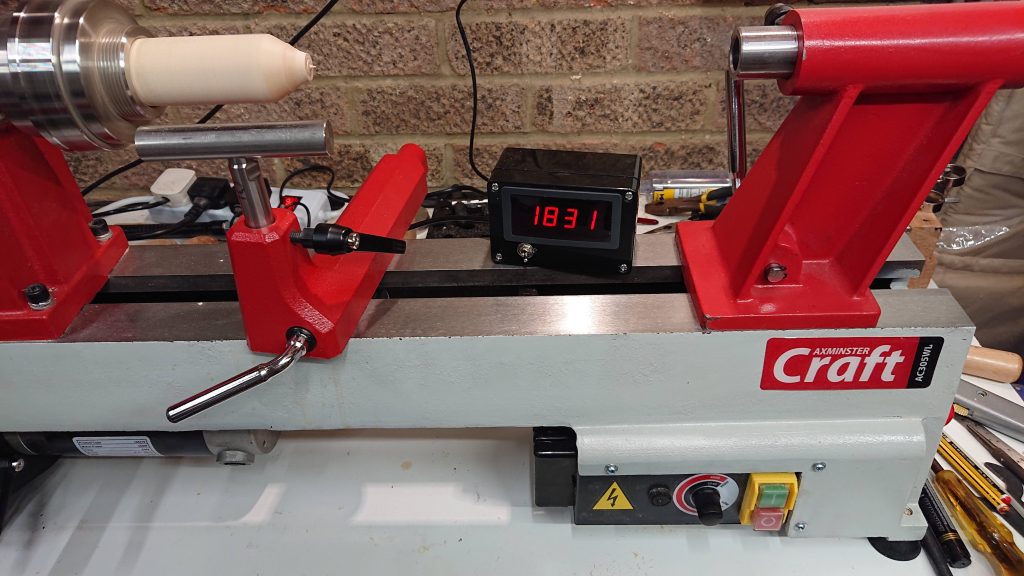
The display is based on a low-cost Digital LED Tachometer RPM Speed Meter with NPN Hall Proximity Switch Sensor. These kits are available on Amazon or Ebay for between £12 and £15 at the time of writing. I housed the display, a 9V PP3 battery and on/off switch in a small black waterproof Plastic Project Box (ABS IP65) 100 x 68 x 50 mm. The Hall Effect sensor was connected by a single 3 wire cable and mounted on a custom made aluminium bracket under the lathe headstock cover.
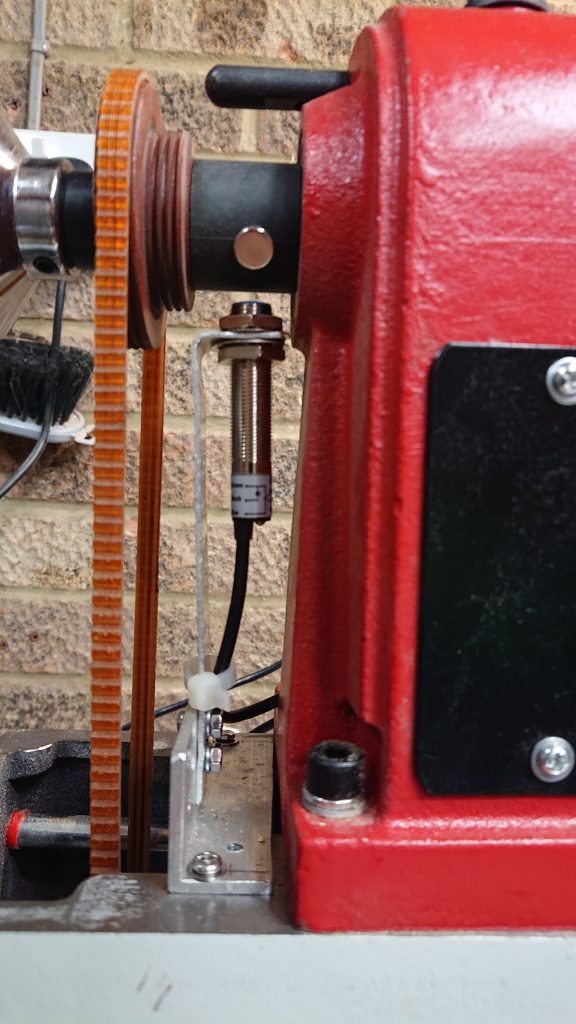
Hall Effect sensor mounted under Headstock Cover

The base of the bracket is bolted onto the lathe bed (which involved drilling two 4mm holes into the cast iron lathe bed). The cable to the sensor exits at the rear under the headstock cover. Note that the bracket, sensor and sensor cable have to clear the drive belt and pulleys!

In the photo you can clearly see the small circular magnet that is stuck to the main drive shaft, it is this magnet passing the sensor that triggers the unit to count the RPM.
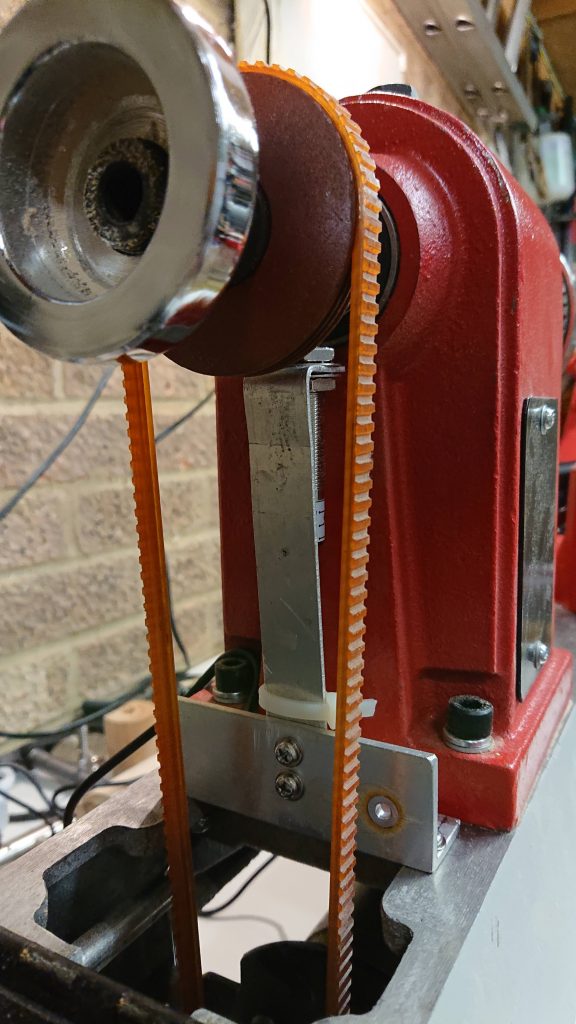
Another view of the Sensor mounting bracket

I decided the use a battery to power the RPM Meter as it avoids having another set of cables around the lathe, and I wanted to be able to reposition the display easily, but it could easily be powered by a small mains adapter.
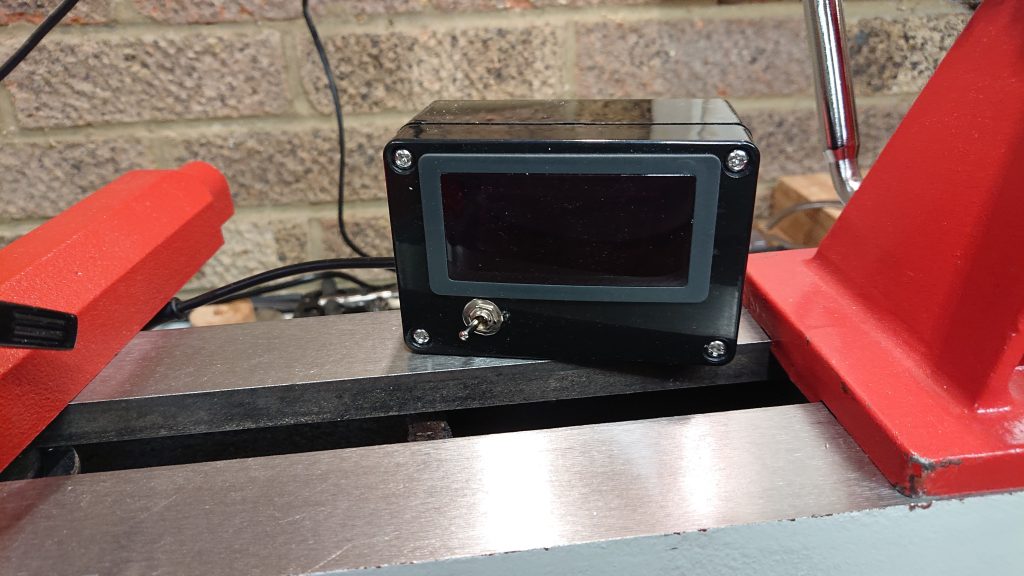
A closer view of the display and ono/off switch

An enhancement I have considered is adding a magnet to the back of the display box, so it can be clipped onto the lathe bad. At the moment I usually have it on the workbench next to the lathe. The battery should last a reasonably long time as I only turn the unit on when I want to check the lathe speed, and the unit doesn’t draw very much power.
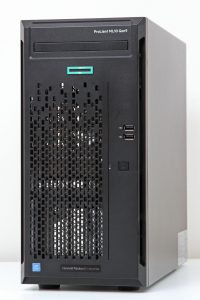
HPE ProLiant ML10 Gen9 Tower Server (837826-421)

The bottom of the range of HPE ProLiant servers, the ML10 Gen 9 is currently on offer at extremely competitive prices.This article will point out some of it’s advantages and disadvantages when used as a home server/NAS or low-cost desktop machine.

The ML10 comes in a fairly standard tower format, it has a noticeably low-cost construction (especially compared to other HPE ProLiant tower servers). The model under consideration here comes with an Intel Pentium G4400 CPU and 4GB of DDR4 unbuffered ECC RAM. No hard disks, optical drives or operating system are supplied.

The current version of Windows 10 (v1607) installs from a USB memory stick and after Windows Update has run, directly supports all the ML10 hardware.

Here are the main plus points from the point of view of the home user :

  • 6 standard AHCI SATA ports on the motherboard
  • 4 x USB 3.0 ports on rear, 2 x USB 2.0 on front and 1 x USB 2.0 internal port
  • Takes up to 64GB DDR4 unbuffered ECC RAM (4 x 16GB)
  • Quiet (although see minus points if adding PCIe cards)
  • Very low idle power consumption, around 14 – 16 watts (4 x 4GB RAM, 1 x SSD, 1 x 3.5″ HD
  • Decent CPU (Pentium G4400 with a passmark of around 3600)
  • Can easily fit 5 x 3.5″ HDs and a 5.25″ Optical drive

And here are the minus points :

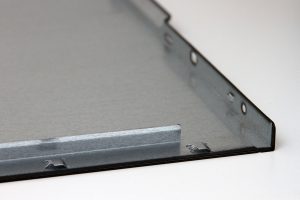
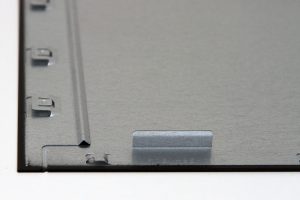
  • Below average build quality – see photos of case side panel
  • Only DisplayPort 1.2 video outputs – these require an active DP to HDMI/DVI convertor, the standard passive DP to HDMI convertors will not work.
  • No sound hardware on-board, and sound is not supported over the DP 1.2 ports
  • Adding PCIe cards (for example, a graphics card to provide HDMI and sound) increases the system ad case fan speeds – resulting in more noise
  • PSU doesn’t supply enough SATA power connectors (only 4), and the supplied ones are very short. SATA power extensions/splitters will be required to support 6 drives in the server

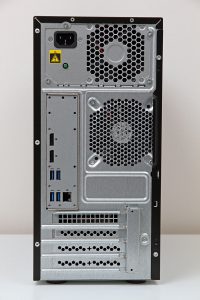
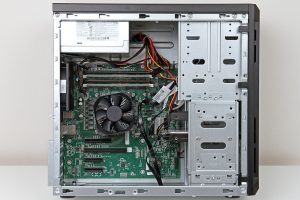
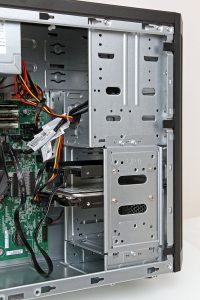
Here are a selection of photos showing the front, rear and internals of the ML10 Gen 9.


The internals show the hard disk mounting bays, 5 x 3.5″ HDDs will fit easily, leaving space for a 5.25″ DVD or Blu-ray drive at the top. These photos also show just how short the SATA power cables supplied are.


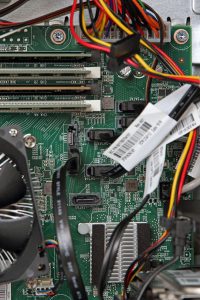
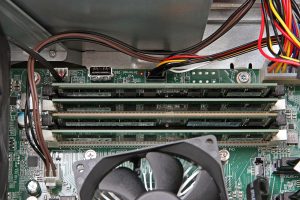
The next pair of photos show the 6 x SATA sockets on the main board. SATA 0 has an associated mini-SATA power connector (the same combined 13 pin mini-SATA connector often seen on slimline optical drives). The internal USB 2.0 socket just above the 4 x RAM slots is also shown.


Finally, a couple of shots of the side cover, showing how thin the metal is and the lack of bracing normally found on HPE server chassis.

Posted by Charles Durrant, 2016-12-30